|
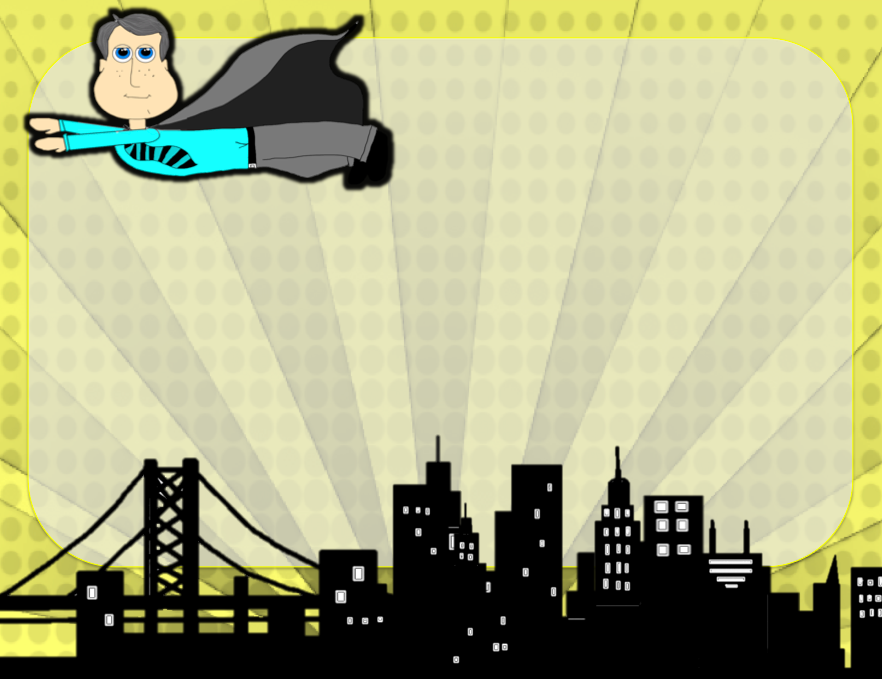
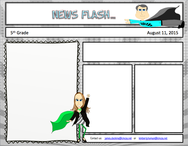
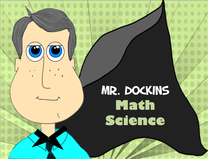
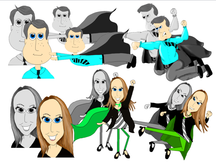
This year, James and I were thinking about how he could welcome his new class with a “wow” factor this year. So, I came up with the idea of him using technology. We recently have been introduced to the app “Nearpod”. It is an interactive presentation allowing an instructor to insert live quizzes, polls, writing responses, videos, and images. Students can watch and interact with the questions and media by picking choices, watching, and even replaying videos, drawing responses, and typing responses. Another amazing feature includes a report of student responses and quiz data emailed to you after the session ends! I was hooked right away with all the possibilities. So, this year, James is going to send home a Nearpod Welcome Back to School assignment!!! Students will be introduced to their new teacher. He will tell them a little about himself and his partner teacher, Ms. Homan. They will get a sneak peak of both classes they will be attending. Then, students will write about themselves, draw pictures and answer polls and quizzes. To accomplish this, James needed all the student email addresses. So he called all the students in both his class and his partners’ class to introduce himself to the parent, request an email address, and let them know an email will be sent in the next day or two. Calling all 50 families took approx. 1.5 hours…James loves to chat! As he was calling parents, I had a great idea for the theme of the presentation. Mrs. Homan’s classroom theme this year is SuperHeros. As a result, I thought it would be cute to draw them as teaching heroes and introduce them as “The Incredible Dynamic Duo”. I got right to work on their cartoons, images, backgrounds, etc. I used the superhero front free from: http://www.fontsquirrel.com/fonts/sf-slapstick-comic The background image can change colors by simply clicking the background. Then, click format picture. Under ‘adjust’, click recolor. Chose from the colors available.
If you would like a customized set with your own custom cartoon, contact me. A set like this would cost approx. $25 and I would need an image of you since I draw the cartoons to resemble the teacher. All images have the background removed. Now, James and Mrs. Homan can use these in any presentation, poster or room décor they create this year. Its simple. Just open the presentation I created, and open a new presentation. Then, simply click on the image or background, and then paste into your new presentation. If things overlap, it is easy to rearrange the order. Add text boxes with the new font! BAM! KAPOW! Customized stationary, powerpoint presentations, worksheets, newsletters, posters, anchor charts, labels, binder covers, thank you cards, and signs. The possibilities are endless.
Follow our blog and return to Teacher Dock!
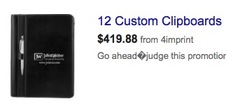
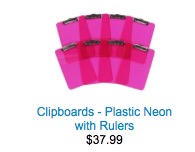
Simply Teach this year, Jill Dockins Just got my room ready for the year. Updated a few things and made sure all bulletin boards and such were in shape and looked their best. After several people came to my room to look at it, many commented about the clipboards which I keep in a basket. They do not look like this... 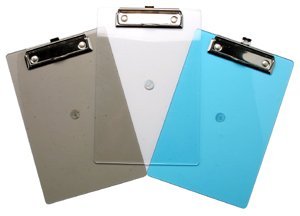 Instead, they look more like this. 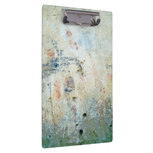 So I decided to buy new clipboards in a matching set. I was overwhelmingly surprised at the cost. They were overly outrageous. 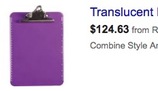
Looking at these prices I decided the students could just use the old clipboards and we would put up with the rough look. Then my wife asked, "Why don't you just paint them." I truly thought this was not a good alternative, but she truly felt it would work since the clipboards would be covered with a fresh coat of paint, and the colors would match my decor. So I went and bought a color of paint that would match. Setting to work, I paint the clipboards and they actually turned out very well. 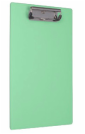 Now, to achieve this, I learned a few things. First, wooden clipboards absorb a lot of paint. I would suggest painting the clipboards with a primer first, then the color of your choice. I wen through about 4 cans of paint for 15 clipboards. This being to add up as each can of paint is about $3.50 to $3.75 a can. One cheap can of primer would have sealed them up and I could have painted probably all of the clipboards with a maximum of two cans of color paint.
This summer, Jill decided to make her own décor/patterns to decorate her classroom. Anyone who knows Jill, knows she is cheap. Her students know one Skittle is generous in her classroom. We are yard sale queens and kings. And, we never, if rarely, hire anyone to do anything we can do ourselves. 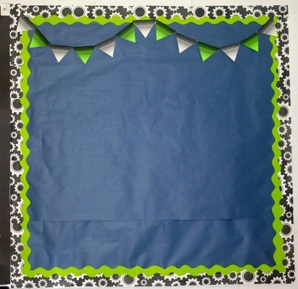
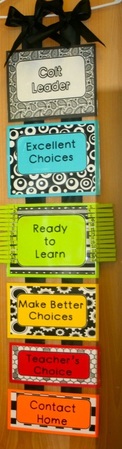
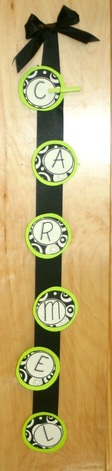
How to Make teps to make: 1. Print/copy 5 sheets of full page design. 2. Trim white border with paper cutter 3. Cut full page design (slide 3) in half horizontally with paper cutter. 3. Print border template (slide 2) 5. Find the middle of the ½ page. (technically this would be the ¼ horizontal line) 6. Place border template. Scallop should lie just over the middle. This one cut will give you 2 borders. So, the ‘hill and valley’ should lay over the middle of the page. I put a grey line on the template to help guide you. 7. I use paperclips/binder clips to hold paper as I cut. Do not try to cut too many pages at once. It will look too choppy. I recommend cutting 4-5 pages at one time. Remember, one page will yield nearly 4 feet of border, so don’t rush! Think, in two cuts you will be able to cover the perimeter of a 4’ by 4’ board! Fonts These definitely took the LONGEST time to create, but were so worth it. My wife and I love all the options to create signs, posters and even kids names throughout the room. I suggest that you create new slides to save your work and leave the page settings intact for future use. The first font page, says “type here”. These are VERY customizable. All you have to do is type. It will create lower or upper case letters to meet your needs. In addition, you can change the font and fill and even resize. Have fun! The second font page contains movable images. You can scale them to be as large or small as you want. Simply click on the letter desired, copy and paste into your project. If you want to use a color printer, you can recolor the image too. Stationary, Labels, Certificates and Desk Tags Stationary, Labels Desk Tags and Certificates are customizable!! You can increase, decrease or even delete the white space. Simply add a textbox or add images to create your projects! The very last page was created when we put together my room. We needed smaller number labels for the student cubby boxes. After Jill created these, she thought she would add them to all the designs so others could use for cubbies, newsletters, or even a calendar. 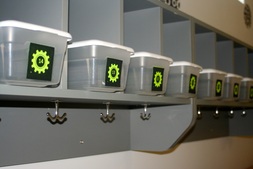 Pennants and Banners Looking around Pinterest yields so many ideas. I love seeing all the creative clutter-free classrooms. Recently, Pennants and banners are EVERYWHERE. So, we included a few customizable ones in the product. Simply create a textbox and add desired letter or delete the white space for just a patterned ‘art’ look. I decreased the sized of one pennant to create the top of this border and we used a full page size to create a valance over a window. 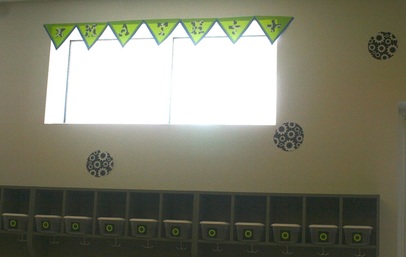 We used the circle gears in the room too to add a little Pop Art and tie in the whole scheme. The trick to using the Pop Art Circle is to ensure a ‘random’ look. Not one circle is lined up with the others.  We have been using this behavior chart (well not this exact one) since 1996. Now our whole school has adopted the positive discipline plan. Since the whole school uses the behavior plan, the chart is on a hanger so it can travel with them to Art, P.E., Music or even the Cafeteria. We tied in the stationary from several theme sets. I love that I could tie in the black and white accents. The “Carmel” chart, will be my Specials/Planning Period chart telling students which special class they attend each day. This was made with just the circle art and moving the white circle around a bit. Of course Jill added a cute font to spice it up J
Jill and I hope you find great value and inspiration in these products. Please send pictures of your works of art using Poor Teacher Dollar Decor!!!! I’ll link them to this post and send you a digital gift!! 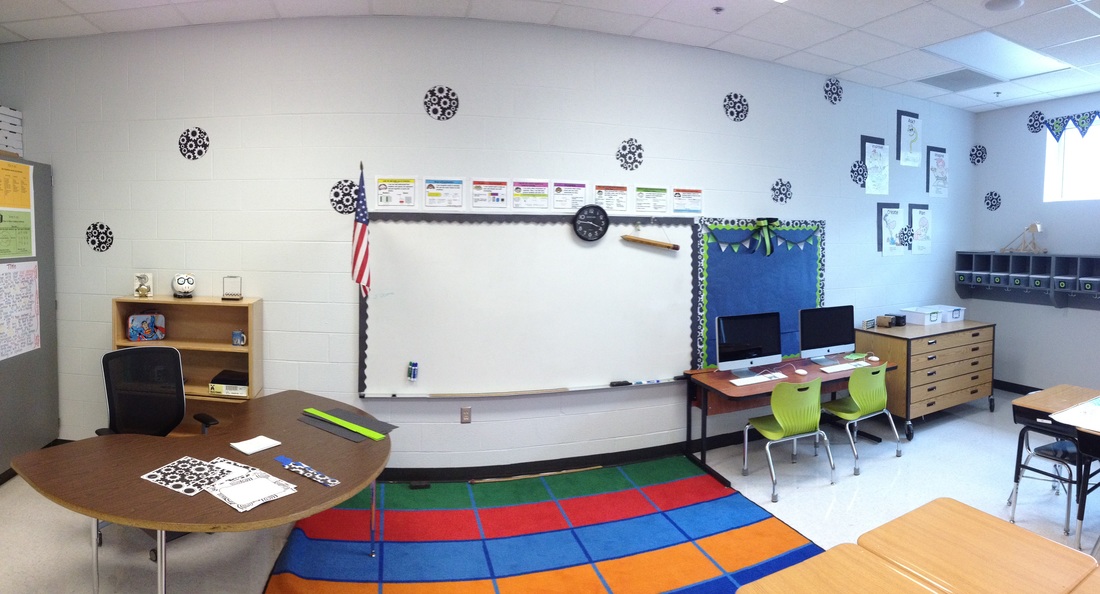 Click on any link below to visit the store site.
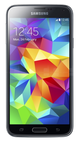
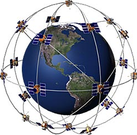
In this end of the year activity, my classroom reviewed coordinate pairs and related the idea of coordinate pairs to latitude and longitude. This then led to the additional use of technology in the classroom. 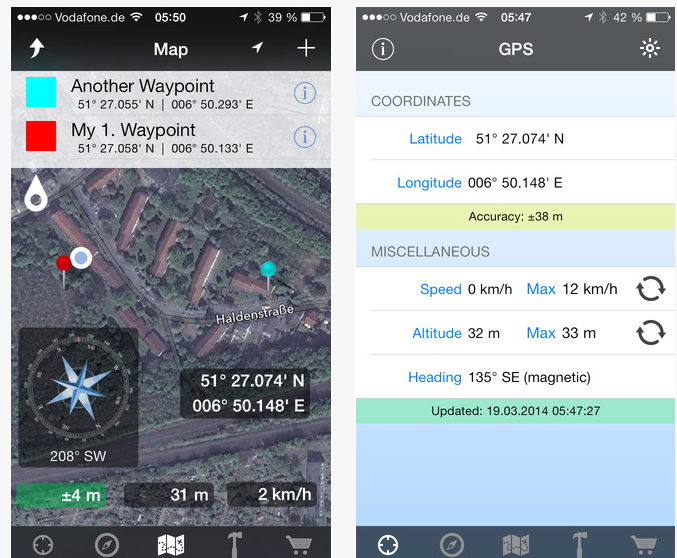 Contacting the parents, I asked how many students either had a smart phone, or could get access to a smart phone for an activity at school using latitude and longitude similar to Geocaching. The response was great so I went on with the activity. I also checked the school perimeter to determine how far out our internet reached so that some students could use their ipads or kindle fire if they didn't have a phone. Then I contacted the parents once again and told them what free APP would work best for the Mac products, and the android products. (I decided on Easy GPS since you could enter latitude and longitude and it seemed fairly accurate.) Parents then downloaded the apps and sent them to school with their students the day before the activity was planned. (I also asked for parent volunteers to come and help monitor the school's surroundings for safety while the students were running in every direction.) 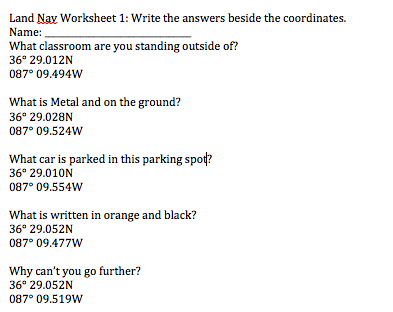 The day before the activity I taught the students how to enter the latitude and longitude in their phone and find a selected location. All went well and the students were ready to get started. The day of the activity I had several parents show up and students had their devices. I knew not all students would be able to bring a phone so I broke them up into teams of 4 with someone who had a device. I gave them their worksheets and sent them on their way. (I did learn an important lesson. Some students showed up with their devices only to find they did not charge them the night before. If you do something similar, make sure they have the devices fully charged.)
 Over the past few years, the use of technology in your lessons has become expected in the classroom. Here are a few ways I bring technology into the classroom. These are all very easy to incorporate and can be very powerful. Plickers.com Plickers is a website app that I have used numerous times in the classroom. You can use the software either with an ipad, or with any smart phone. It truly is a powerful tool. First you print a group of cards that are marked on different sides of a weird shape as either A, B, C, or D. Then you train the students on how to hold the cards. This is all explained on the Plickers website. You go on to create questions and post them in the app. You then select the correct answer and fill in the multiple choices. I usually create the questions with the computer since typing with the laptop is much easier than on a tablet or the phone. You can also skip the questions if you have a paper or digital copy of the questions already. You just go to the Plickers app, type the question number, and put in the correct choice; A, B, C, or D. Then show the students the question on the overhead or on the computer, have them hold up their card, then scan them. The app scans the students instantly and gives you a digital percentage (Bar Graph) of how well your students did on that particular question. It also tells you exactly who got the question wrong, which shows who you need to pull and reteach on the question concept.
QR Codes
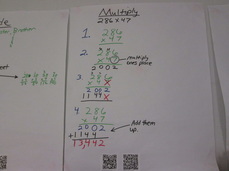
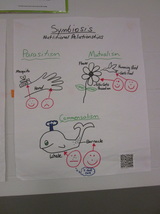
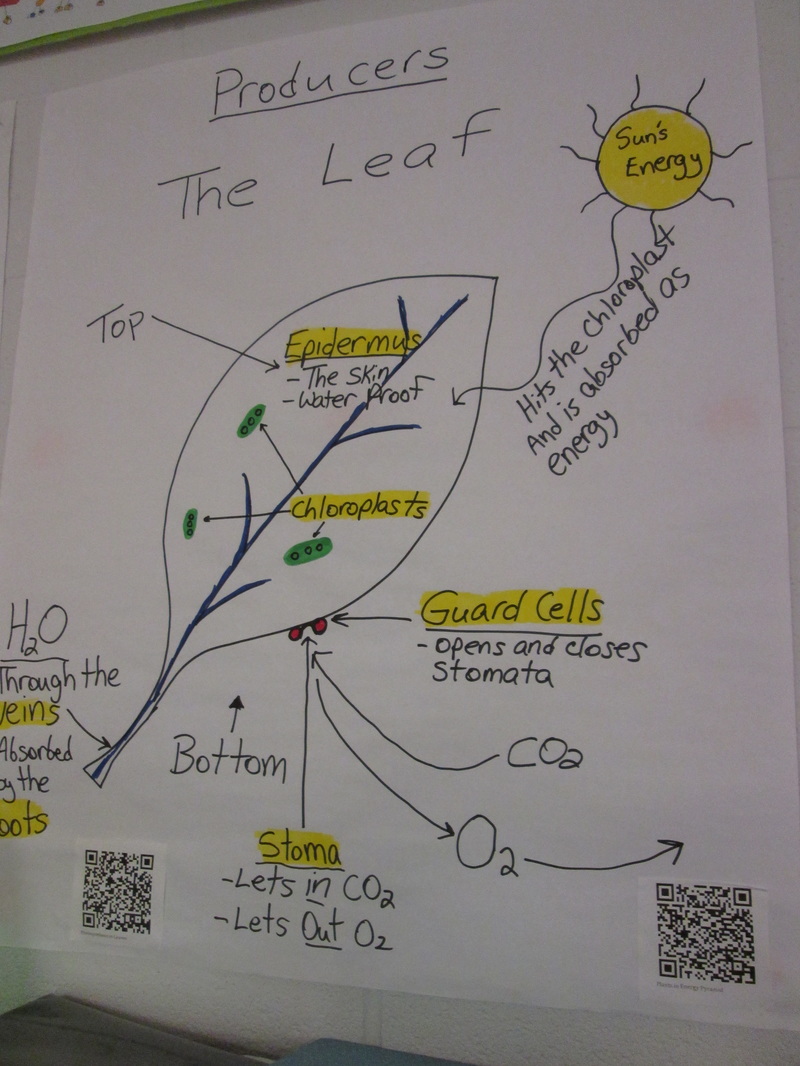
ShowMe is an app that is much like Educreations. It allows students to create their own lessons and instantly posts them online. You can access the lessons using the app once you setup an account. I started using ShowMe when I found Educreations did not allow you to just download the app and post it where you wanted it. They have recently fixed the problem and now allow you to download the lessons created. Using ShowMe is very easy. You download the app, students create a lesson, it posts instantly once they save it. You can then go to the ShowMe app and view the lesson. The lessons are automatically assigned an URL, which makes it easy to make a QR code for your lesson. The only problem is, you can only do about 10 ShowMe's with the free app before you have to delete one to create another. This truly brings not only the posters in the classroom alive, but opens up a world of possibilities with students creating lessons, and posting help for homework. All of which students just scan and never type a wrong URL taking them places they shouldn't be going.
I truly hope this helps in ideas to incorporate technology in the classroom for almost any lesson. If you have other ideas on apps or other technology to bring into the classroom, please let us know. |


 RSS Feed
